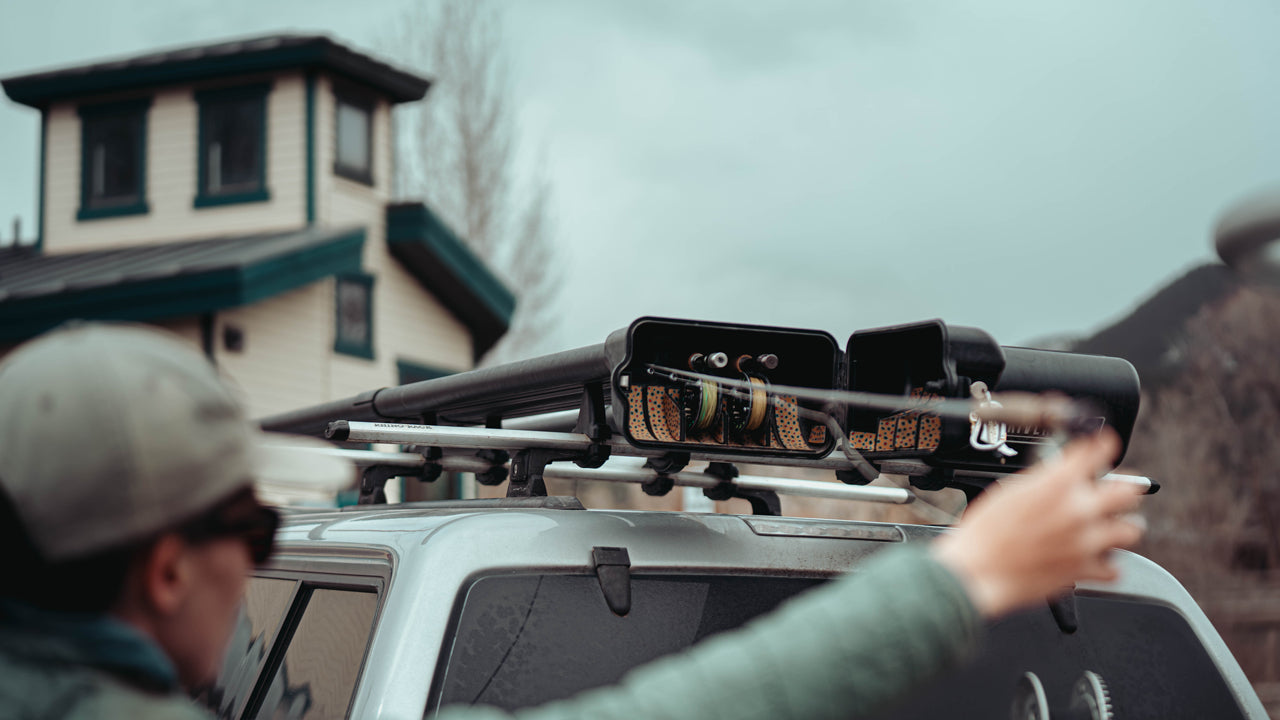
When it comes to transporting and protecting your fly rods, the River Quiver Vehicle Rod Carrier is the gold standard. But did you know there are ways to make assembly, installation, and everyday use even smoother? Whether you’re setting up your River Quiver for the first time or optimizing your on-the-water experience, these six tips will save you time, prevent headaches, and might even inspire some new ideas. Let’s dive in!
1. Assemble Vertically for a Faster, Easier, Gap-Free Fit
Assembling your River Quiver vertically, rather than flat on the ground, is more efficient and ensures there are no gaps between the extrusions or issues with cross-threading. Here’s how:

• Start upright: Begin with the reel box section standing vertically. Pro tip: Place a towel or cardboard underneath to prevent scratches if you’re working outdoors.
• Install couplers: Attach the top and bottom couplers by hand, leaving the bolts slightly loose (about 3–4 threads).
• Align correctly: Drop the second half of the River Quiver into the coupler, ensuring the sticker is facing the correct direction.
• Secure by hand: Install the remaining coupler bolts by hand to prevent cross-threading and identify alignment issues early.
• Tighten up: Use a 4mm hex key or mini-ratchet to fully tighten all the coupler bolts.
• Teamwork helps: While solo assembly is possible, having a second set of hands can make the process even smoother.
See a full River Quiver Coupler Installation Guide Here!
2. Pre-Size Your Mounting Brackets to Save Time
Installing your River Quiver onto your crossbars is much faster if you pre-size the mounting brackets:
• Dry fit: Test each bracket on your crossbars before attaching them to the River Quiver.
• Quick-Release Mounts: Adjust strap tension with a 4mm hex key for easy setup.
• Standard Mounting Brackets: Leave one bolt out and pre-position the other. Once the River Quiver is on the crossbars, rotate the bottom bracket into place and secure it with the remaining bolt.
This hack significantly reduces installation time and makes setup hassle-free.
3. Get Creative with T-Tracks
The River Quiver’s continuous T-Tracks are not just for universal mounting—they’re perfect for creative attachments!

• Add accessories: Attach items like a Rhino-Rack Sun Seeker awning for riverside shade.
• Multi-use: Mount bike racks, tie-down rings, or even light bars.
• Expand options: Space two River Quivers apart to create a kayak or FlyCraft rack.
The built-in versatility of the T-Tracks lets you customize your setup for more than just rod storage.
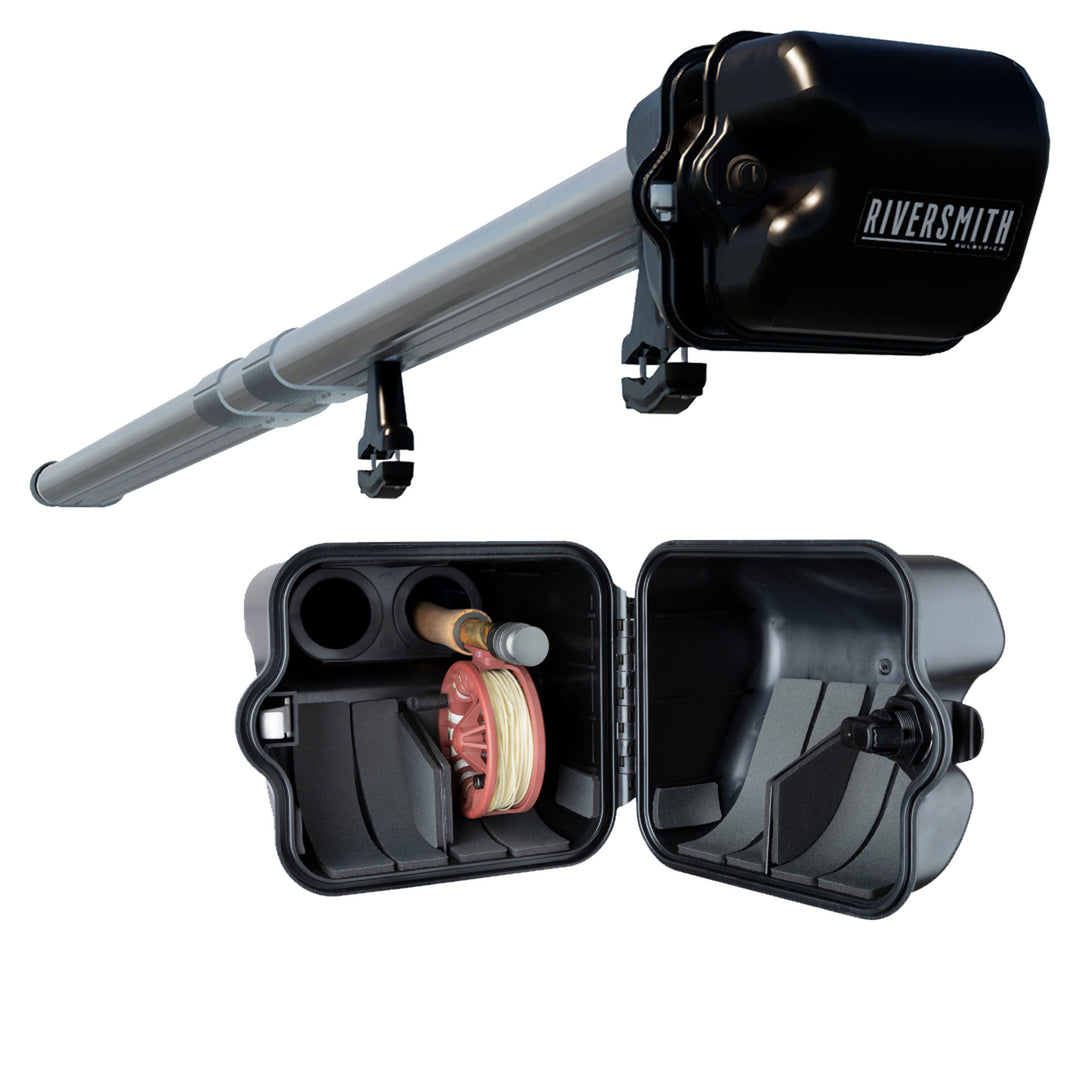
4. Use Reel Dividers for Rod Chair Storage

Rod Chairs are essential—until you lose them. Here’s a simple solution:
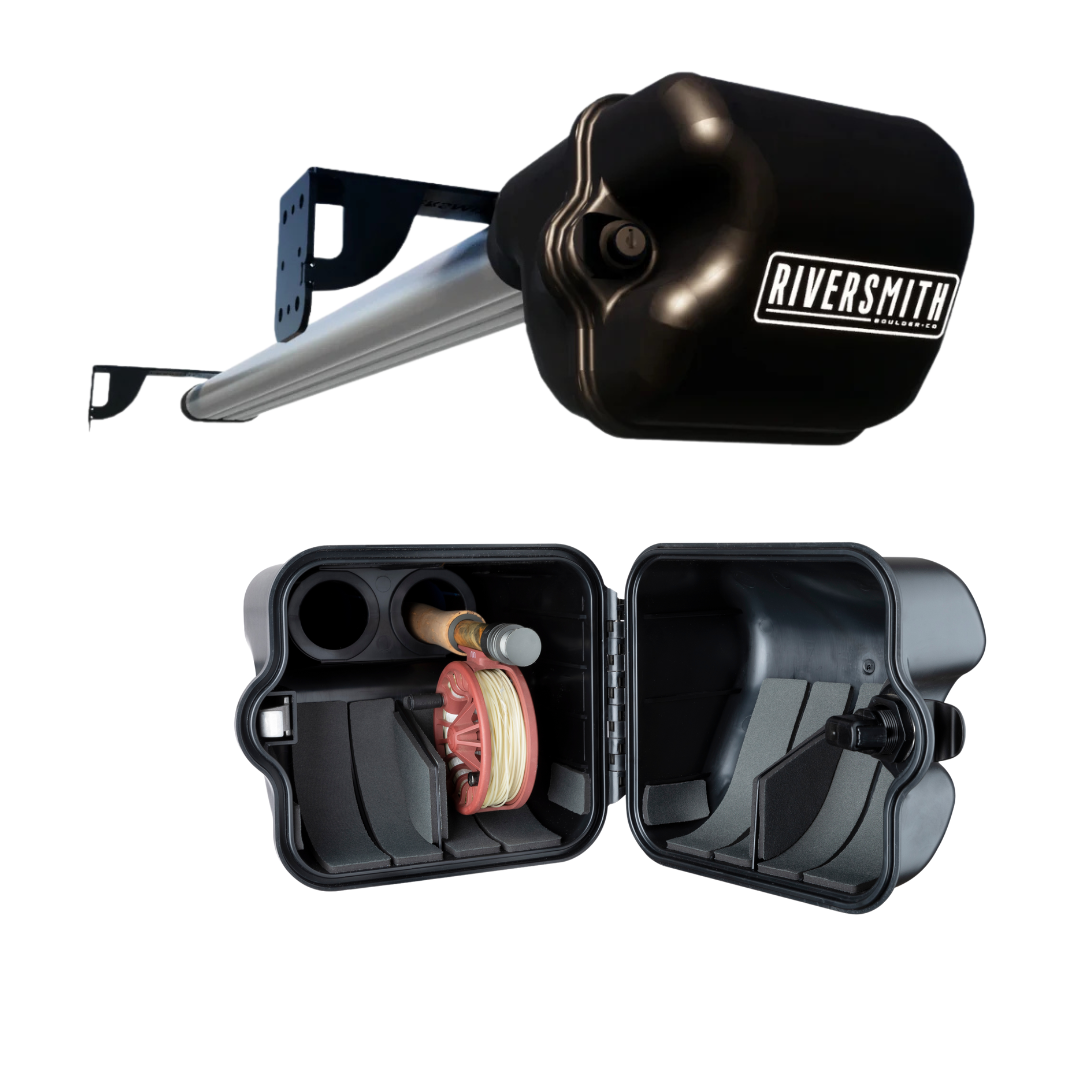
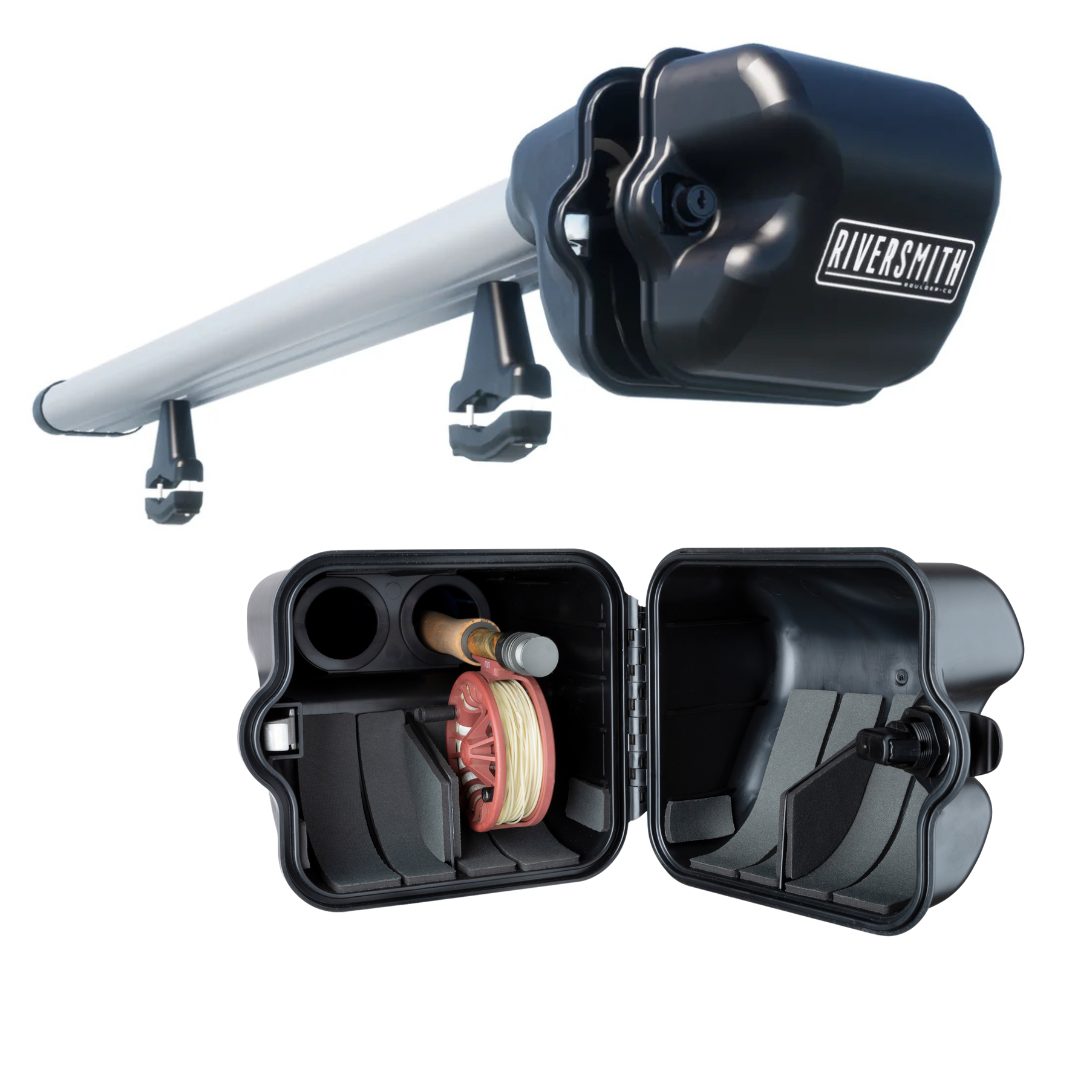
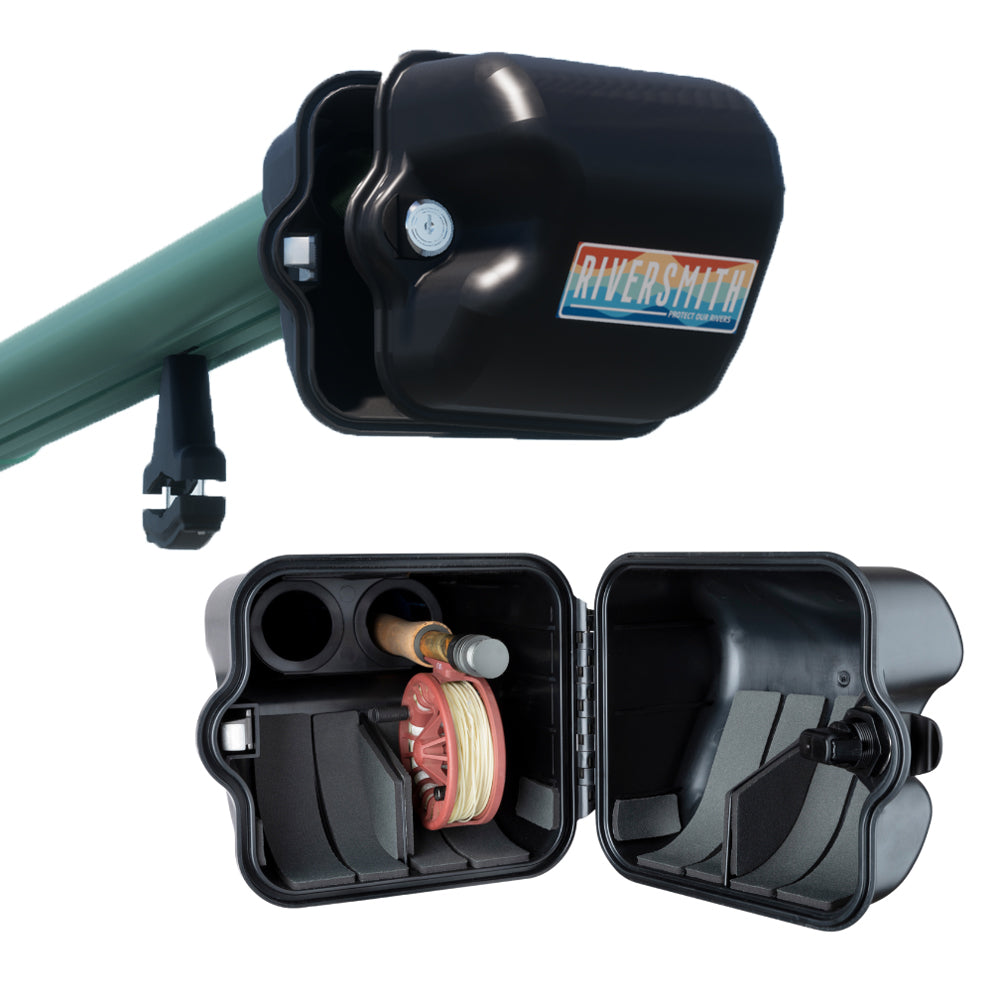
• Slide each Rod Chair onto the reel dividers inside the lid.
• Close the lid, and the chairs stay securely in place, ready for your next outing.
No more hunting for Rod Chairs at the end of the day!

5. Upgrade Flexibly with Euro Extension Kits
Euro nymphing enthusiasts, rejoice! The River Quiver offers flexible options for longer rods:
• Euro River Quiver: Designed for rods up to 11’4”. Also works great for Spey Rods, folded in half "ShortCut Style".
• Extension kits: Add a Euro Extension Kit to a standard River Quiver whenever needed.

• Easy upgrades: Install the kit effortlessly to extend the functionality of your existing setup.
Whether you’re a Euro fanatic or just dabbling, the flexibility of these kits ensures your River Quiver can grow with your needs.
6. The Anti-Blowback Detent: An Unsung Hero
Avoid the frustration of lids slamming shut unexpectedly.
• Secure lid: The anti-blowback detent holds the lid open, preventing accidental closures.
• Peace of mind: No more broken rod tips or unexpected stress.

It’s a simple feature that makes a big difference during use.
Unlock Your River Quiver’s Full Potential
The River Quiver isn’t just gear—it’s an investment in hassle-free fishing adventures. With these six tips, you’ll assemble faster, mount smarter, and fish harder. Now get out there, hit the water, and let the River Quiver Vehicle Fly Rod Carrier do its thing!


