


ROD CARRIER MAINTENANCE
Welcome to Riversmith!

Thank you for your purchase, and welcome to the Riversmith family!
We are glad you chose Riversmith gear and appreciate the trust you put in us. This page walks you through everything you need to know, from installation to day to day ownership, so you can get the most out of your setup right away.
STEP 1. REGISTER YOUR PRODUCT
REGISTER YOUR PRODUCT TO ACTIVATE THE LIFETIME WARRANTY. ANY SHIPPING DAMAGE OR WARRANTY CLAIMS REQUIRE A REGISTRATION TO PROCEED.
BE SURE TO INCLUDE ALL KEY CODES WHEN REGISTERING.
STEP 2. INSPECT YOUR RIVERSMITH PRODUCT
TAKE A MOMENT TO LOOK OVER YOUR RIVERSMITH PRODUCT BEFORE INSTALLING IT. REGISTER YOUR PRODUCT USING THE LINK ABOVE TO ACTIVATE WARRANTY COVERAGE. IF YOU NOTICE ANY SHIPPING DAMAGE, YOU CAN FILE A CLAIM THROUGH THE PROVIDED LINK. SHIPPING DAMAGE ON ORDERS THAT DID NOT INCLUDE REDO PACKAGE PROTECTION IS NOT COVERED BY RIVERSMITH AND MAY NOT BE FULLY COVERED BY THE CARRIER. IF YOU THINK PARTS OR ACCESSORIES ARE MISSING, CHECK THE BOX CAREFULLY, INCLUDING ALL CLEAR WRAPPING AND ANY PACKAGING THAT HELD MOUNTING HARDWARE.
STEP 3. FIND YOUR RIVERSMITH PRODUCT BELOW TO ACCESS DETAILED INSTALLATION GUIDES AND VIDEOS

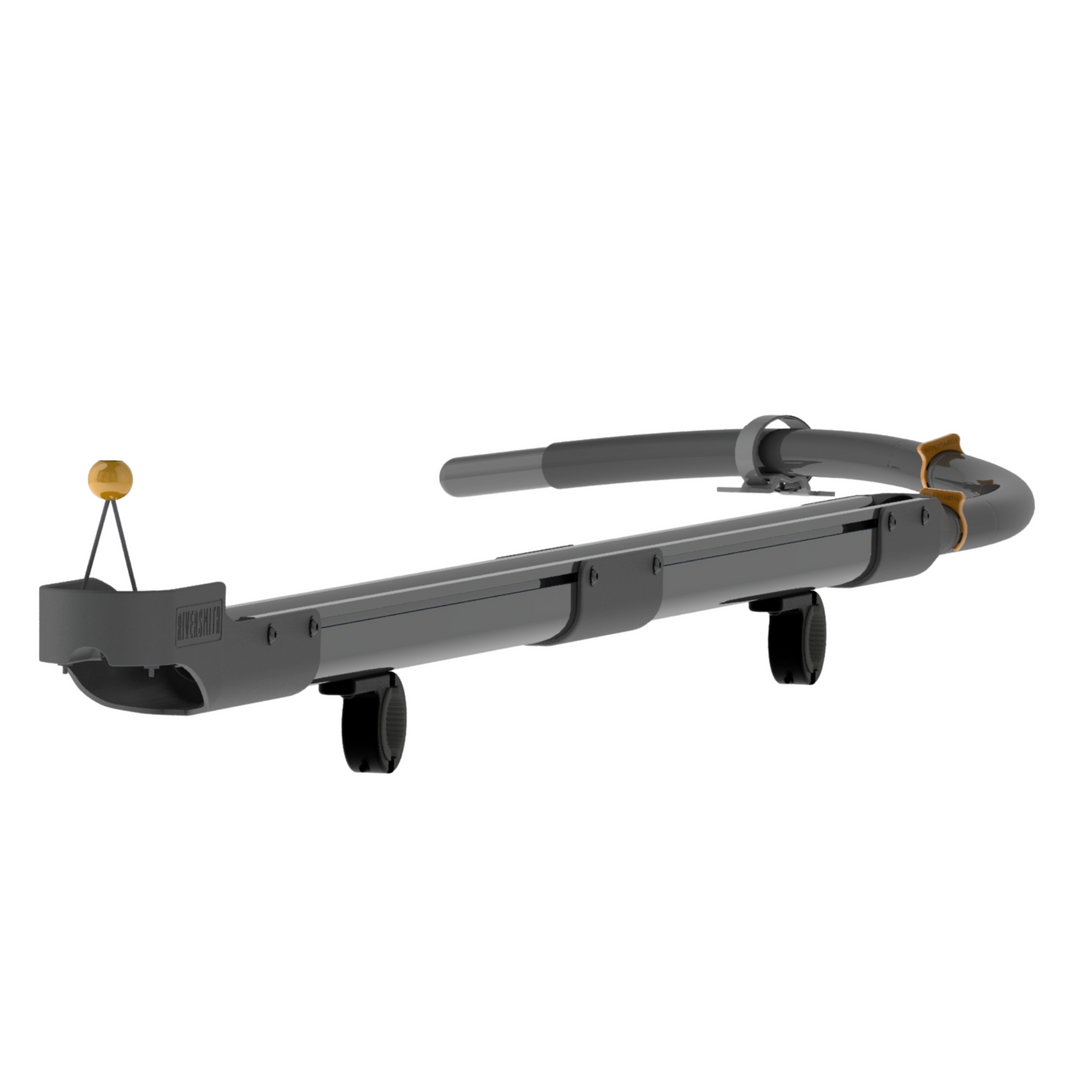
River Quiver 10'4"
LP T-Track Mount River Quiver
Quick Release Mount River Quiver
Standard Mount River Quiver
ShortCut River Quiver
ShortCut Installation Overview - Video
LP T-Track Mount River Quiver
Quiver Manual | Mount Manual | Video
Quick Release Mount River Quiver
Quiver Manual | Mount Manual | Video
Standard Mount River Quiver
Quiver Manual | Mount Manual | Video
Changing Mounts and Mount Orientation on the ShortCut River Quiver
Euro River Quiver & Extension Kit
12" Extension Kit
LP T-Track Mount River Quiver
Quick Release Mount River Quiver
Standard Mount River Quiver

Truck Bed River Quiver
2-Banger Truck Bed River Quiver
4-Banger Truck Bed River Quiver
River Quiver Accessories

Resources
SwiftCast Raft Rod Holder
Step 4. Maintenance and Proper Use
Your River Quiver is designed for long term use with minimal upkeep. Regular inspection and basic care will help ensure safe transport and protect your rods.
• The River Quiver must be locked to function properly. Always confirm it is locked before driving. If your lock is malfunctioning, do not use the Quiver for rod transport until resolved.
• Always travel with rods fully rigged inside the River Quiver.
• Clean the exterior regularly with mild soap and water.
• Wash the inside of the quiver periodically to remove dirt, sand, or debris that could cause abrasion to rods. Click Here for a Quick Video of the Simplest Way to Wash Your Quiver
• After any saltwater exposure, rinse all metal components thoroughly with fresh water and allow them to dry.
• Regularly inspect all mounting and hardware components to ensure everything remains tight and secure.
• Periodically inspect the River Quiver and vehicle rack for damage. Replace any lost, damaged, or worn parts using original Riversmith replacement parts only.
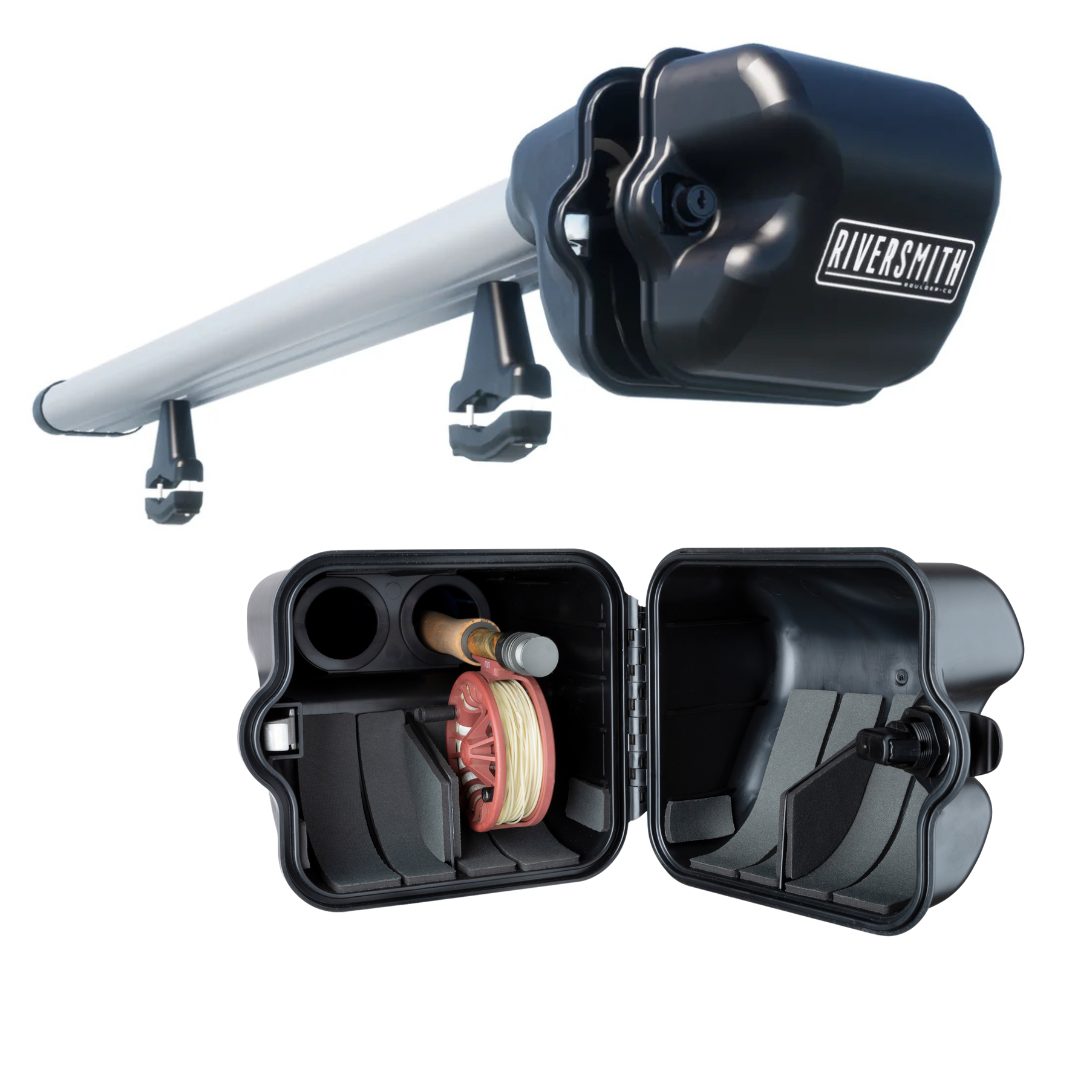
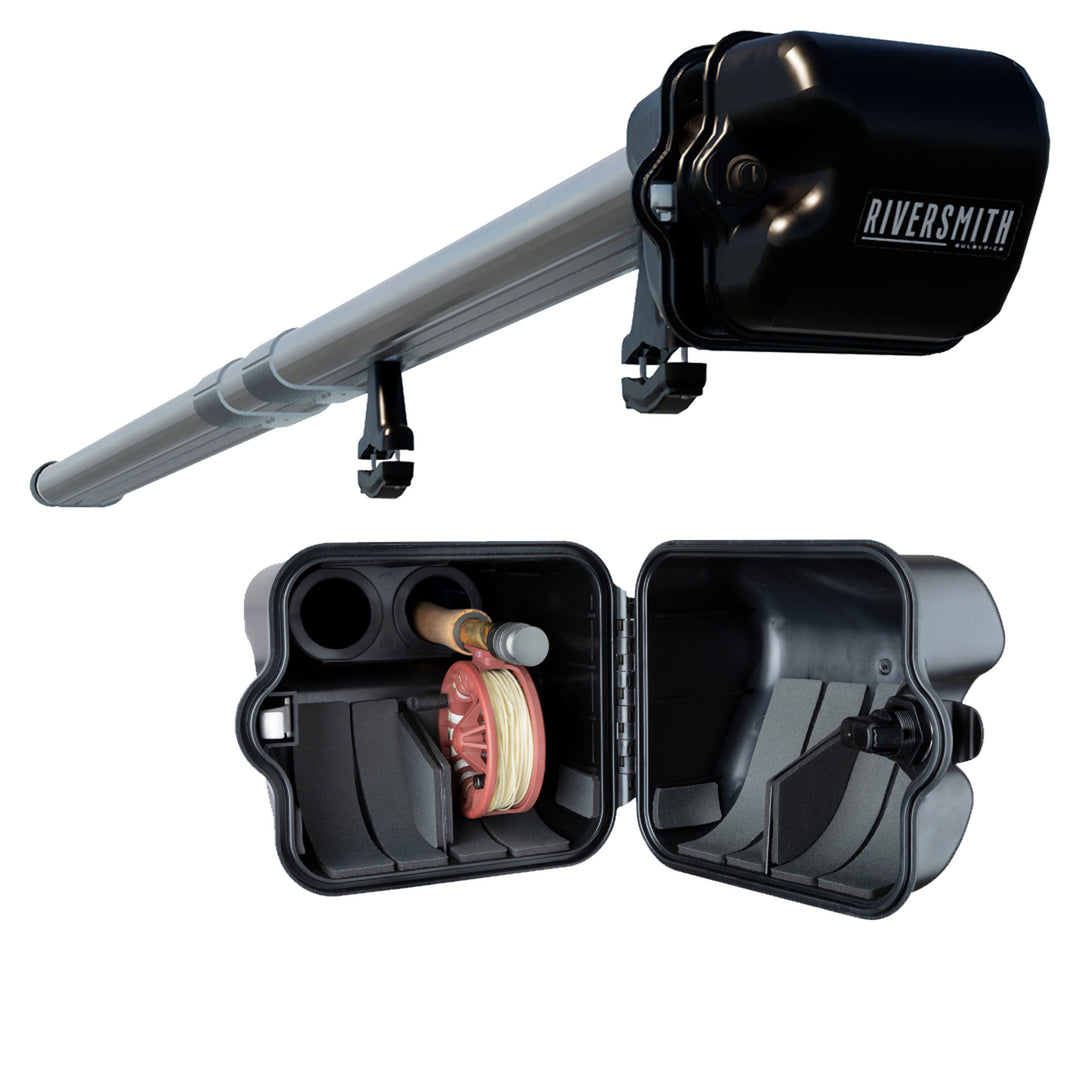
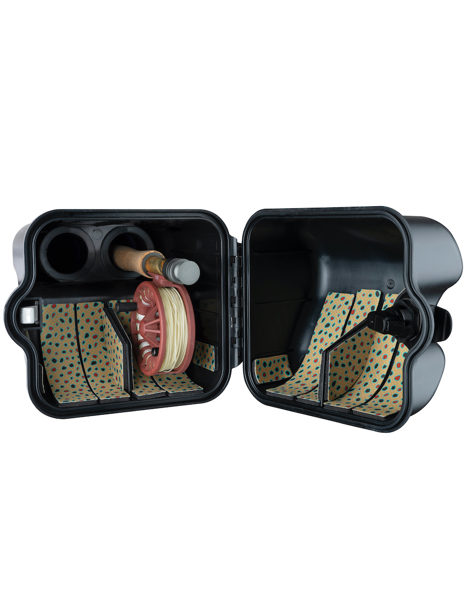
• Check the reel box door every time it is opened. Pull gently on the thumb tab to confirm it is fully seated and locked.
• Do not use automatic car washes with overhead sprayers or brushes.
• Avoid low clearances such as parking garages, drive through structures, and low hanging tree branches.
Any modification to the River Quiver or repairs made using non manufacturer parts will void the warranty and release Riversmith from liability.
Step 5. Have a Question or Issue? Reach Out to Our Team!
Step 6. Love Your Riversmith Product? Leave a 5-Star Review!
Let customers speak for us


Thank You!
ENJOY YOUR TIME ON THE WATER!